Capstone: Adaptive Robotic Gripper
The Goal:
Design a Robotic End Effector Capable of Manipulating Two Distinct Object Types
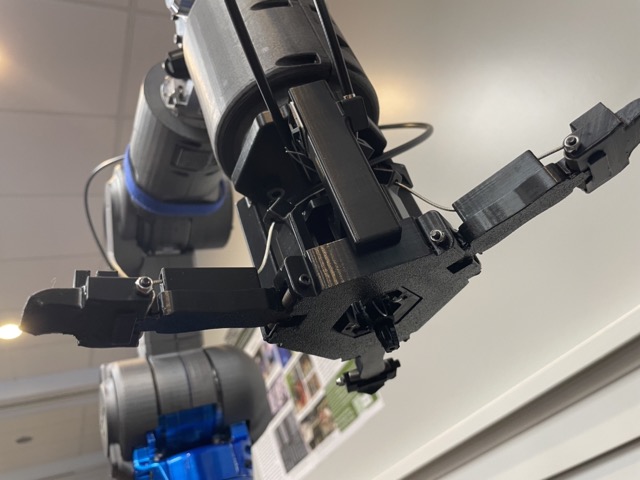
In many industrial facilities robotic arms are used to pick up and manipulate a wide range of objects for the purpose of automated packaging. Many of the manipulators attached to these arms are designed for a narrow range of objects, making them ideal for scenarios where only one type of object is being interacted with, but restricted otherwise. This project aimed to tackle this deficiency by creating one end effector capable of picking up and controlling two drastically different categories of objects, specifically handling both leafy greens for industrial food packaging and small hardware components for kit assembly.
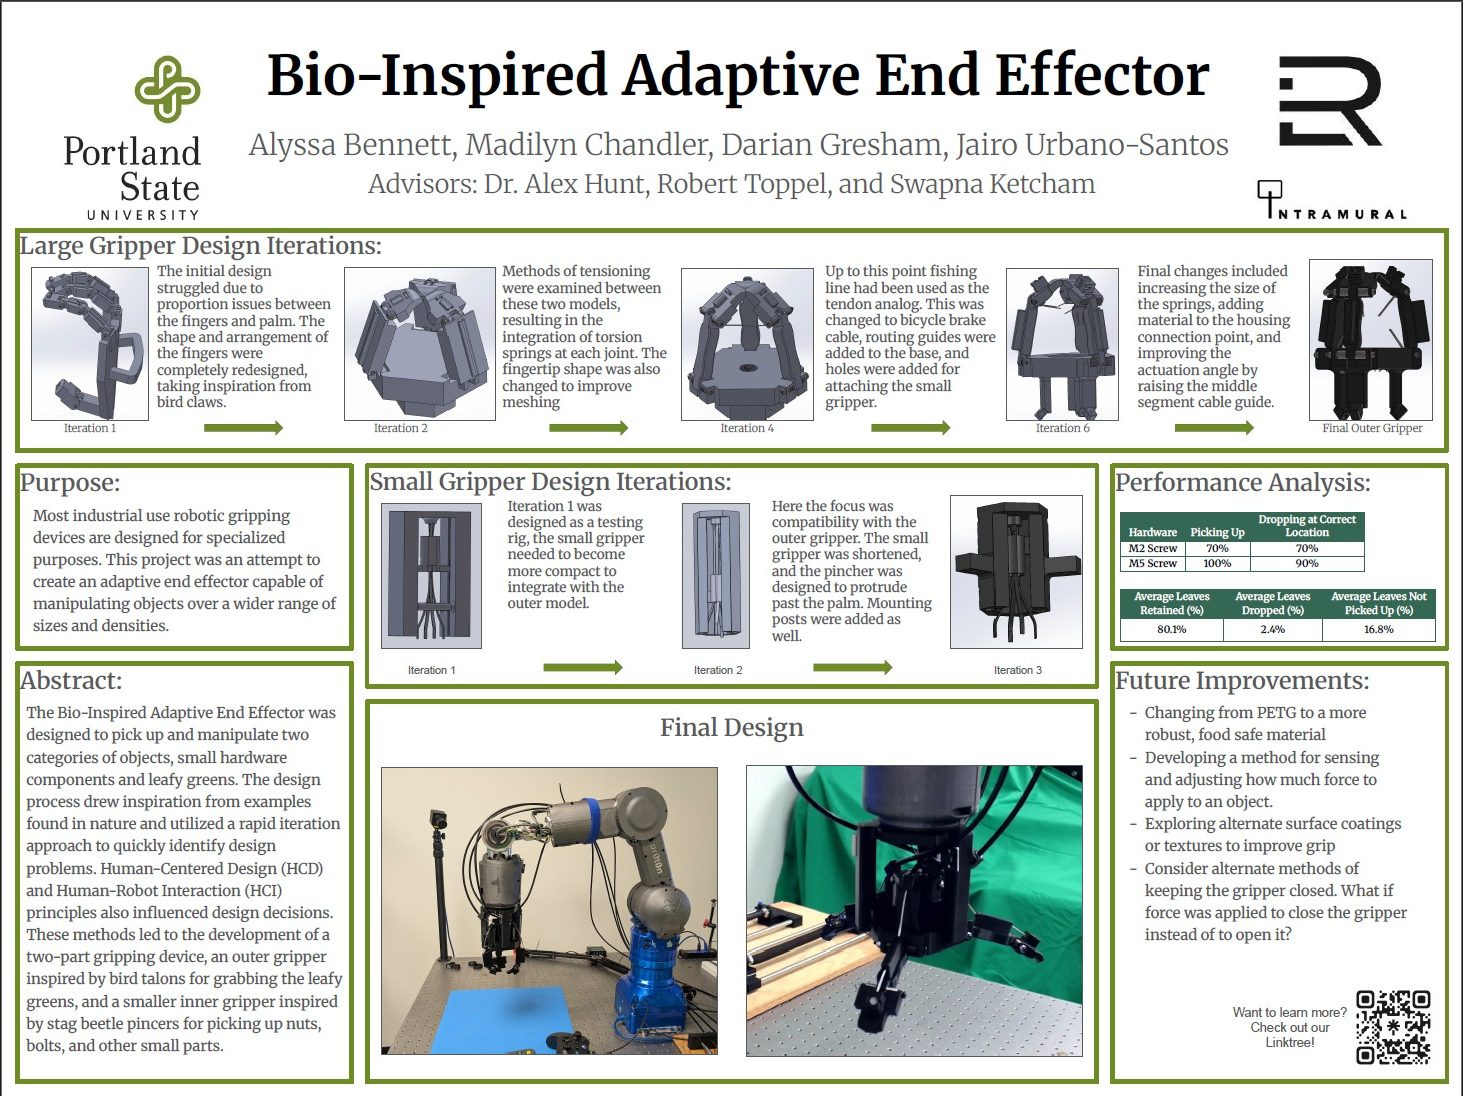
The end result of this project was a proof of concept design and 3D printed prototype for an end effector capable of meeting the design criteria, as illustrated by experimental data measuring the device’s ability to repeatedly pick up and move the target objects. This model was attached to Electron Robotics’ robotic arm Pr0t0n for demonstration and testing purposes, as shown above.
The Approach – Iterate, Iterate, Iterate
This project consisted of eight distinct iterations, with numerable smaller changes in between. Each iteration was developed over two weeks, from concept to fully 3D printed model.
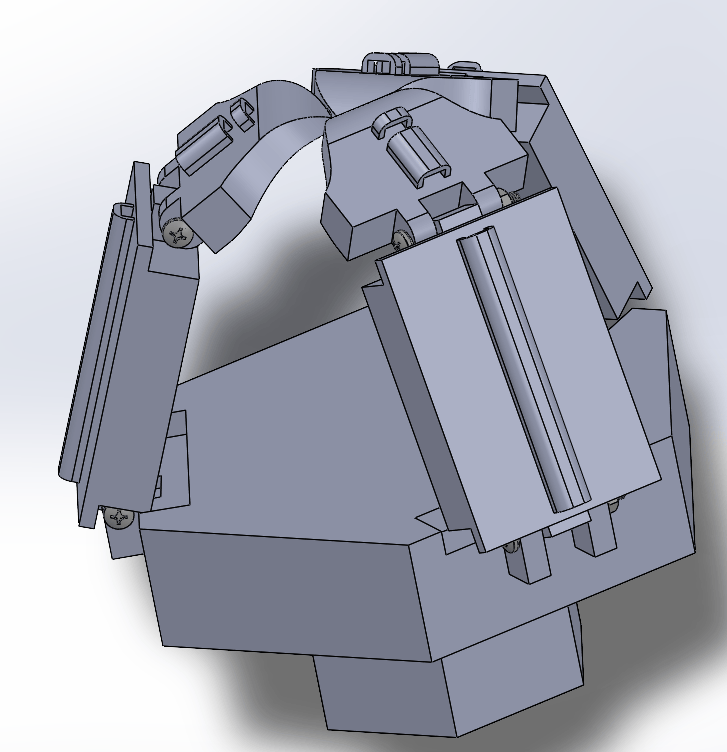
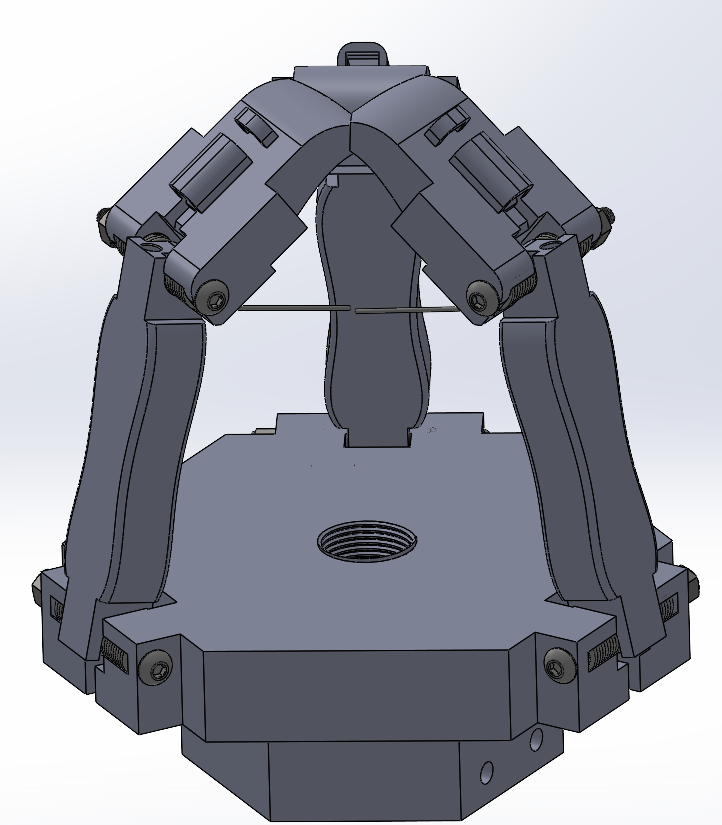
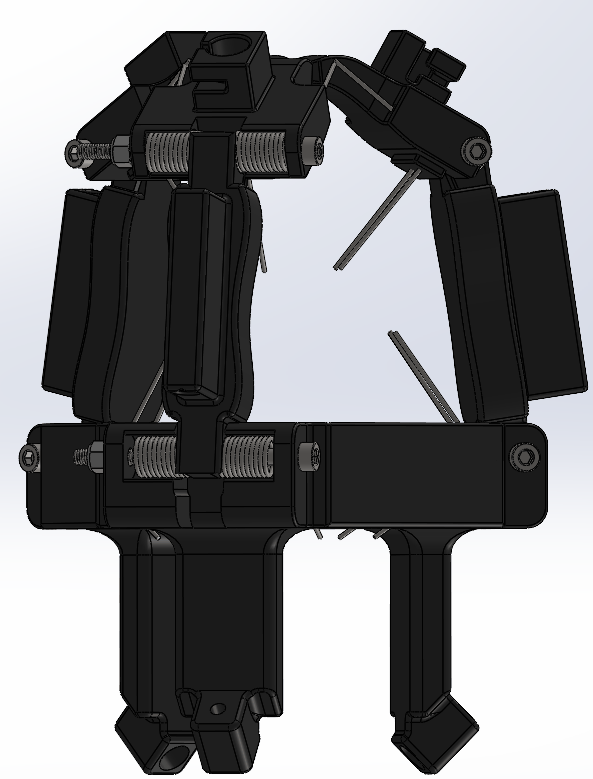
Capstone Poster
Additional Projects
Design for Assembly – Desk
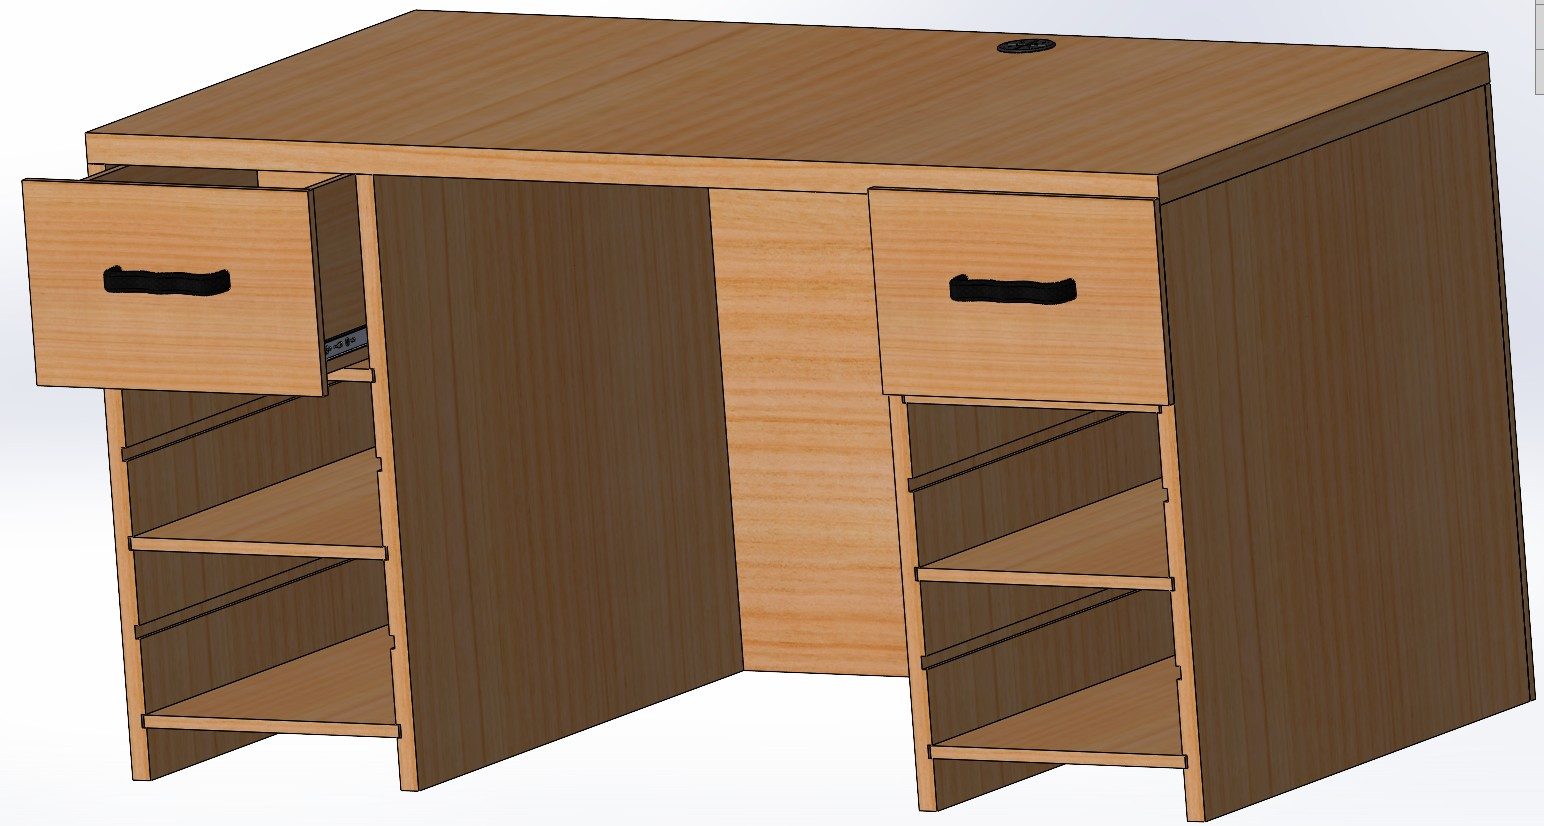
This project was the midterm assignment for my Advanced Solid Modeling course. The prompt was to develop a SolidWorks assembly for a functional desk using Design for Assembly (DFA) principles. This meant building out each panel of the drawers, considering appropriate clearances for screw heads and slots, and designing attachment methods that were possible for real-world assembly.
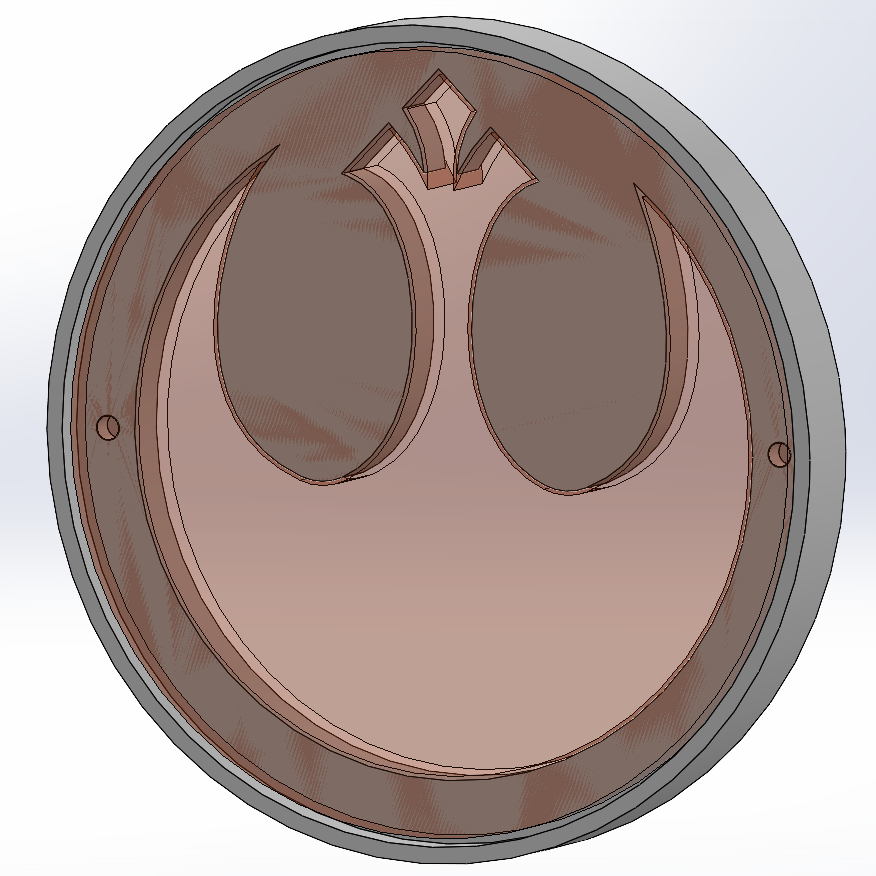
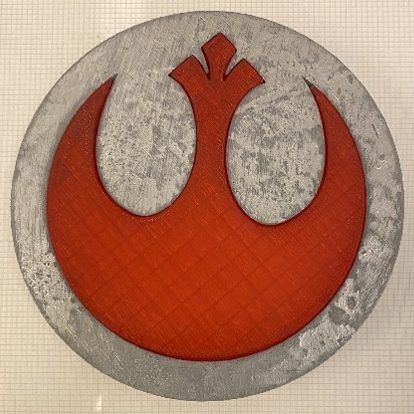
3D Printing and Press Fittings
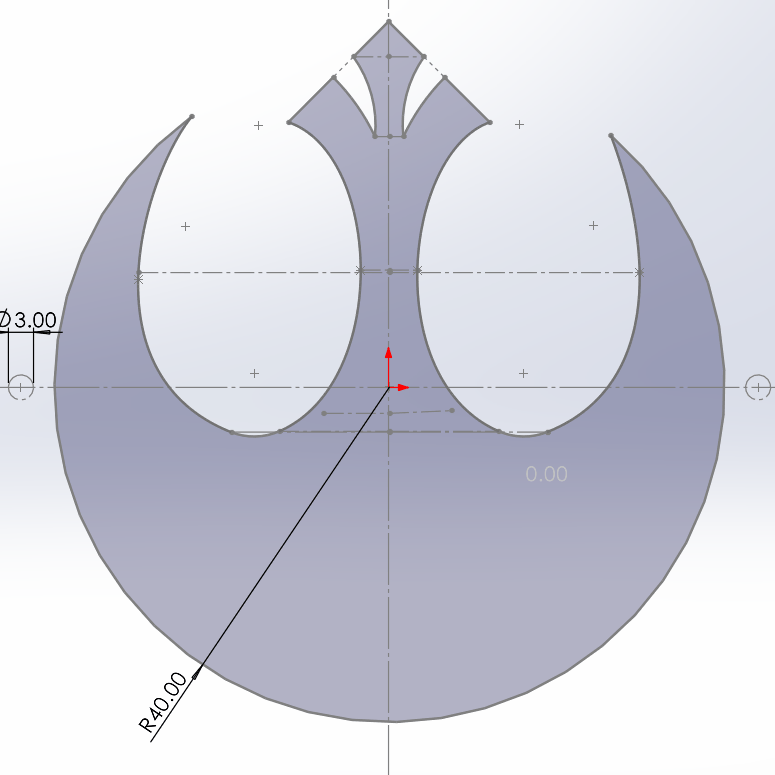
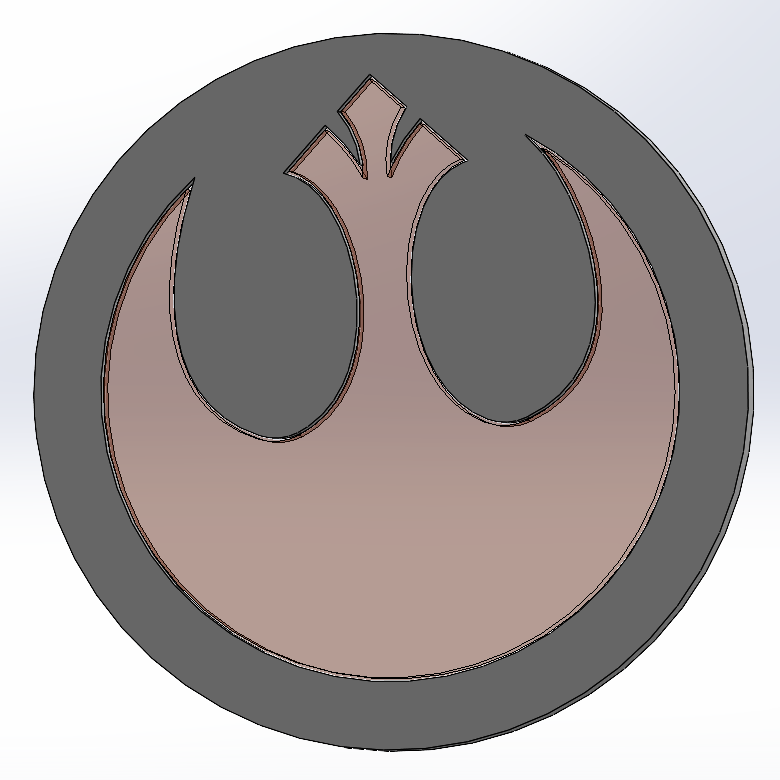
The goal was to create two separate pieces, one of which would be printed out of a transparent material and dyed, that could be pressed together as one object. When modeling the parts I made use of a reference sketch to ensure that both pieces would line up correctly. I used press-fit pins on the inside of the part to hold the center in place, and the sketch ensured that the holes lined up properly.

